Wednesday, December 5, 2012

Verde Chicken Mexican Lasagna - Remake


I got this picture as well as the original recipe from this blog via pinterest.
This recipe recently won an LDS living recipe contest.

I made a few changes to cut out 130 calories and 6 g of fat per serving,
 which is reflected in the recipe below.
While I never made the original, I'm not sure how it could taste much better. 
The whole family love this and it's super easy!


Verde Chicken Mexican Lasagna 

1 can 12.5 oz can Kirkland chicken breast - drained and broken up

2 cups fat free plain greek yogurt 
1 (15-ounce) can black beans, drained and rinsed
1 (15 ounce) can corn drained (can used frozen corn that has been thawed also)
1 teaspoon Johnny's garlic seasoning (or garlic powder)
1 teaspoon cumin
1 teaspoon chili powder
1 teaspoon salt
1/3 cup chopped cilantro (plus additional for garnishing)
15 or a few more white corn tortillas sprayed with oil/pam and warmed in a pan till soft
1 (8-ounce) package shredded Mexican blend cheese (separated for different uses)


Begin cooking tortillas (It goes really fast in a large electric fry pan)
Preheat oven to 350 degrees.
 
Mix chicken, sour cream, black beans, salsa, corn, cilantro, the spices and all but a handful of cheese in a large bowl. Taste and adjust seasonings to your preference. 

Cut some of the tortillas in half with kitchen shears.
 Spray a 9×13 dish or any 2 quart casserole dish with non stick spray and layer the bottom with corn tortillas filling the gaps with the cut ones. Add 1/3 of the chicken mixture on the tortillas and spread evenly. Place a layer of tortillas over the mixture and add another 1/3 of the mixture to cover. Repeat the process and top the last mixture layer with tortillas. Spread cheese evenly over the tortillas. 
Bake in oven for 20 – 25 minutes or until cheese is bubbly and casserole is warmed through. Serve with chopped lettuce, salsa, additional greek yogurt and cilantro as desired. 

Makes 8 servings

My recipe: 302 calories per serving (without any toppings) 8g fat (3 sat) 1 polyunsaturated, 0 transfat, 38 g cholesterol,748 sodium, 398 potassium, 40 carbs, 7g fiber, 6g sugars, 18g protein, 15% A, 19% C, 26% calcium, 15% iron.

Original recipe: 432 calories per serving, 13.7 g fat (7.8 sat), .2g polyunsaturated, 0 transfat, 72.5 cholesterol, 1277 sodium, 116.8 potassium, 44.7 carbs, 7g fiber, 4.8 sugars, 31 g protein. 


Monday, November 19, 2012

Springerle

or German Anise Christmas cookies


Erika Mish requested this recipe. It's another classic Grandma Gusty Burton recipe. She would always make these at Christmas time. You can use a cookie press to make them but Grandma always cut them in moon, circle and star shapes. They are not your typical cookie as they are crisp and not overly sweet. As a child they weren't my favorite but as an adult I appreciate them more, especially because they remind me of Grandma and Christmases gone by. Grandma actually has multiple recipes in her book including a hand written one with little hints added in pencil. I looked at multiple recipes on line to help sort things out and this is what I came up with. Grandma's hand written recipe had you separate the yolks from the whites, mixing each very well separately and then combine them. I'm not sure what the difference is and most on line recipes did not have you do that. 

These cookies need to sit over night before you bake them so start early!


4 (small) eggs
1tsp lemon extract
1 pound powdered sugar (=2 cups)
2 TBS anise seeds crushed - plus more
1 pound flour (=4 cups)
1 teaspoon baking powder
1/4 tsp salt

A mixer that can knead thick dough (like bread dough)
Someplace cool for the cookies to sit overnight, or for at least 12 hours, while they rise.

– Beat the eggs on med/high speed for 10 minutes.
– Add the sugar, lemon extract and anise seed.
–Mix at medium speed for 15 minutes.
– Add two cups of the flour, baking powder and salt and mix well
Slowly add in the remaining flour until dough is stiff and kneadable - you may not need to add all the flour. Dough should hold together and not be too sticky.
Cover tightly and chill several hours so the dough will roll out easily. 
Roll out dough in small batches on a floured surface to between 1/4 and 1/8 inch thick. Cut into desired shapes or use a Springerle mold. If using the mold, dust it with flour and only press it down enough to make a clear imprint - then cut between the cookies with a knife. Allow cookies to stand overnight (as far as I can tell it's OK to transfer them to the cookie sheet to sit overnight - at least 12 hours). 
Place on a well BUTTERED (this was underlined) baking sheet that has been sprinkled with anise seed  (I personally don't remember there being anise seed on the back of the cookies... anyone else remember something different?) These cookies do not spread while cooking so you can put them close together.

Bake at 300 degrees F for about 12 minutes.
The cookies should be a very light golden brown when done.
Makes 90-100 cookies. "Store in an airtight container with a slice of apple in it to keep them moist. Check at times to see if you need a new apple as it dries out and may mold." Other recipes suggested a piece of bread. 


Tuesday, November 13, 2012

Pumpkin Chiffon Pie

This is a Thanksgiving class for the Burton family. Grandma Gusty Burton made this every year and brought it for Thanksgiving. I'm not sure when I had my first traditional pumpkin pie but it's not nearly as light and fluffy as this one. This is the recipe from Grandma's cook book.


image from here

Recipe makes one large pie
Prepare/bake a pie shell for a non cooked pie according to recipe instructions. 

Soak:
1 envelope Knox unflavored gelatin in
 1/4 c cold water

Separate 3 eggs putting 3 yolks in the top pan of a double boiler and the egg whites in a clean narrow bottom bowl (set aside at room temperature for later use).

In the top of the double boiler beat  the 3 egg yolks well with
1/4 c sugar
add:
1/2 c milk (canned preferred)
1 1/4 to 1 1/2 c cooked pumpkin

1 cup sugar
1/2 tsp salt

1/2 tsp cinnamon
1 tsp ginger
1/2 tsp nutmeg

Cook and stir over boiling water until mixture thickens
Add: gelatin/water mixture - mix until dissolved, set aside to cool.

Whip egg whites with 1/4 tsp cream of tartar and 1/2 tsp vanilla until stiff peaks form.

Fold gently into COOLED (room temperature) pumpkin mixture and spread in prepared pie shell.

Chill until set (at least one hour) and garnish with whipped cream.


Monday, March 28, 2011

Chocolate Mini Muffins/Cupcakes


 Here's another recipe based on the pumpkin chocolate chip cookies.

You need four bananas
a triple chocolate fudge cake mix and
1/2 cup chocolate chips.
 Preheat oven to 350.
 Blend bananas in a food processor until smooth.
Add cake mix and process again till mixed.
 Add chocolate chips and process again.
The mixture will be thick.
 
 Spray mini muffin tins with non stick cooking spray and fill most of the way with batter.
It makes 48 mini muffins.
 Bake at 350 for about 15 min. It usually takes 18 min to cook but you do not want to over cook these, the middle should spring back but just barely. Leaving a little indentation in the middle when they are done but also giving slight resistance. DO NOT OVERBAKE!
 Let them cool for about 5 minutes and then pop them out of the pan and cool on a rack.

You can eat them plain or top with fat free cool whip like cupcakes...
or any other kind of chocolate cupcake.

These are about 17 calories per muffin.
Four of them for one WW point.

Friday, March 25, 2011

BB Brownies

photo credit here
I didn't include "black beans" in the title because I don't want to scare anyone away from trying these because they are SOOO GOOD

Yes I have tasted black bean fudge and a host of other things people tried to pass off as a "healthy dessert" 
and gagged them down. These have been taste tasted on women who love chocolate, 
men who love brownies and unsuspecting children and
I have not received one negative comment

*disclaimer*
I don't want to mislead anyone - these do not qualify as
"health food"
 but if you have to have a brownie these are a good way to go.

My goal in trying these is to take something that most people enjoy and make them healthier.
Food is a love language for many people but I find it ironic that we often put great effort into baking a wonderful "I LOVE YOU" offering that undermines the good health of the ones we love. 
You can eat healthier without giving up everything you love.

Sooo Here's how you make them:
this makes one 9x12 pan of extra thick ones (24servings) 
or two 9x9 square pans of pretty thick ones (36 servings)

Preheat your oven to 325
You need: Two packages of Brownie mix -  
(at least one with chocolate chips),
and both being fudge or dark chocolate variety.
I love the Girardelli ones you get from Costco and a cheap fudge brownie mix from the store - preferably one without trans fats.
                                                              One 15 oz can of black beans

Drain and rinse the black beans well and return them to the rinsed can.
Add water to the rinsed  beans until the can is full. Put them in your blender and blend 
on high until the beans are  pulverized.


While your beans are blending, open your mixes and put them in a large bowl, I like to make a well in the middle. Also get your pans ready by spraying them with non stick cooking spray.


 Add your bean slurry to the brownie mix. There will be small particles  visible in the slurry but there should not be any pieces of any substantial size. Stir until it's well mixed. The consistency should be about like the picture below.

Bake your brownies at 325 for about 50-55 minutes for the 9x12 pan and 45-50 minutes for the square pans. DO NOT OVER BAKE!!!!! They will be very soft and hard to cut when they are warm but if you don't care then neither do I! They are delicious straight from the oven, slightly warm, cooled or frozen and thawed.

Nutritional information:
These brownies as made according to the directions on the box:
 24 servings - 268 cpb*     36 servings - 201 cpb*
Made per the recipe above:
24 servings - 199 cpb*     36 servings - 150 cpb*
the BB brownies also have 1 full gram of fiber and protein per brownie (24 serving size)
And cuts out 9 grams of fat (24 servings) and 6.5 grams of fat (36 servings)
*calories per brownie

I have also rolled the brownies into balls, chilled them 
and dipped them in chocolate per bakarella's instructions.

Monday, September 6, 2010

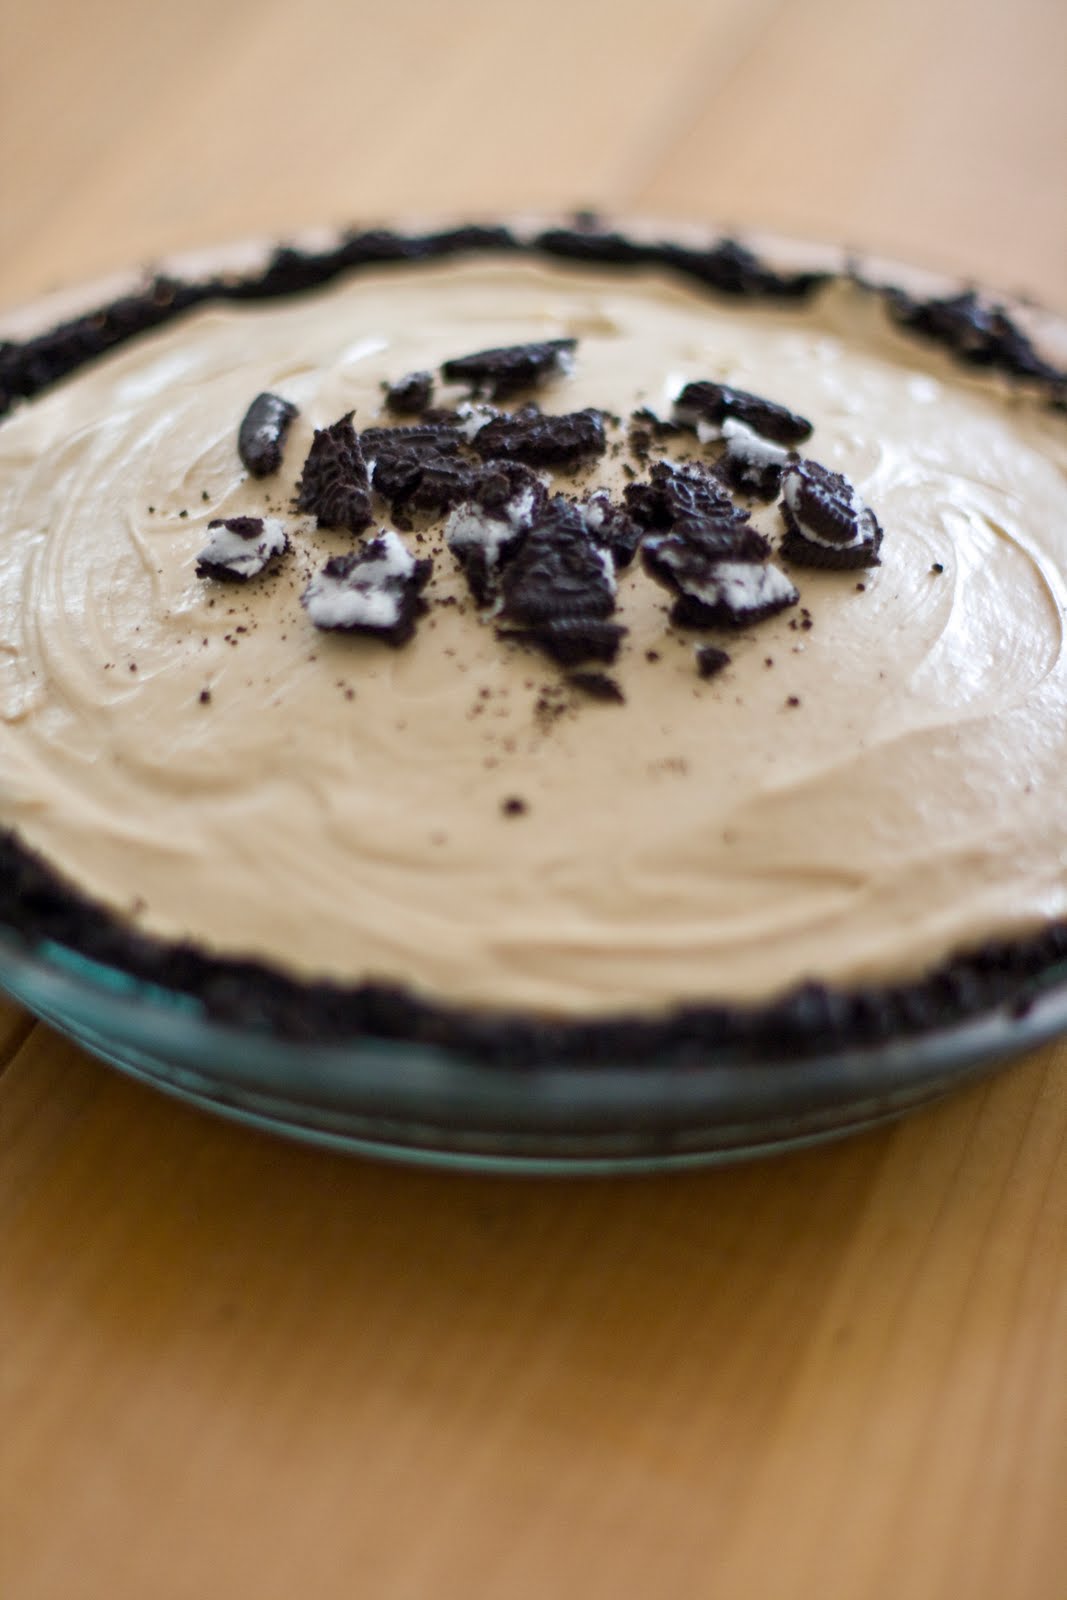
Chocolate Peanut Butter Pie

Find the recipe here. Super easy. Super yummy. Very rich.

Monday, July 12, 2010

Ice cream cake


In honor of my mom's milestone birthday yesterday I will post instructions on how to make an ice cream cake - something she taught me.

Ideally you need 24 hours to make an ice cream cake but if you have a really great freezer you can do it in less time.

To make a 9" round cake you will need:
1 8" round cake - frozen
2 - half gallon containers of ice cream (your favorite flavor*) - you will have some left over
1 half gallon of vanilla or chocolate ice cream for the "frosting"
stuff to decorate it with
Waxed paper
9" round cake pan
*rocky road ice cream is especially challenging because of the mini marshmallows.

Bake your cake first. I usually just use a box cake mix and cook it in two 8 inch pans. Make sure you grease and flour them well before cooking them, let them set 10 minutes in the pan on a cooling rack after they are finished cooking and then turn them out onto the cooling rack. When they are cool, put them each in a gallon ziploc bag, squeeze out all the air and put in the freezer until frozen solid. You will only be using one of the layers.

If you want a larger cake you just need to make sure the pan you put the ice cream layer in is 1" larger than the cake. (a 10" pan uses a whole cake mix and the full 2- 1/2 gallons of ice cream. You can use the same sized pan it's just not as easy.

Once the cakes are in the oven set out your filling ice cream to soften.
Line a 9" cake pan with waxed paper and set aside. When ice cream is somewhat soft remove large portions and press it into the lined pan making sure it fills in all the crevices and has no air space. Smooth the top so it is level, cover it with another piece of waxed paper and put it in the freezer.

When the cake and ice cream are both frozen, put the cake on your serving platter, (remove the top layer of waxed paper) and center the ice cream on top of the cake, removing all waxed paper.
Allow it to sit at room temperature to soften the edges of the ice cream.
When the ice cream is soft and spreadable, carefully spread the ice cream down over the sides of the cake. Smooth the sides and then spread the crown that is created at the edges of the top of the cake towards the center so that the ice cream leaves a smooth surface all around the cake.
Put it back in the freezer to harden - at least an hour - most likely more.
About 20 min. before you are ready to "frost" the cake take the vanilla or chocolate ice cream out of the fridge and let it soften. When it is soft enough, put it in a large bowl and break it up.
Let it sit to soften a little more and then using the back of a sturdy spoon stir and smash the frozen lumps out of the ice cream until it is smooth but still thick.
Retrieve your frozen cake from the freezer and dump all the "frosting" ice cream on top of it.
Spread it on the top of the cake creating a large lip that hangs over the sides.
From the top smooth the lip down the sides and around the cake taking more from the overhanging lip of ice cream as needed.

It helps to turn the cake as you go to smooth out the sides.
Once the sides are smooth, use the spatula to clear off the extra ice cream, returning it to the bowl (to eat later or make shakes with - sooo yummy).

continue to smooth the top removing excess ice cream.
Don't take too long doing this as your cake will be melting.
Return it to the freezer as quickly as possible.

The longer you can freeze it at this point the easier it will be to decorate.
Use regular decorator frosting to pipe borders but work quickly so they don't slide off. Melted chocolate is always good dripped on the edges but allow it to cool as much as possible before putting it on the ice cream to avoid sliding.

When you are ready to serve the cake, allow the whole cake to sit out for 10 min. or so to soften for easier serving. A knife dipped in hot water also helps.

For Ruby's Elmo cake we printed off a picture of Elmo from the internet, cut out the center creating a stencil and filled it in with red sprinkles. I piped melted chocolate for the outlines and mouth and filled the nose in with almond butter.

Enjoy!